Onigiri Recipe: 3 Ways With Soy Egg, Tuna Mayo and Wasabi
Last updated on October 17th, 2026
This onigiri recipe is proof that a Japanese rice ball doesn’t need much to be great: good rice, wet fingers and a filling worth hiding in the middle. It’s Japan’s answer to a sandwich, something you eat with your hands, no cutlery required. I make three versions from one batch of rice: a soy-marinated egg with a perfectly centred, semi-soft yolk, a tuna mayo with avocado, and a wasabi soy version with no filling at all, just flavour mixed straight through the rice. Get the rice right and any onigiri filling you like will work from here.
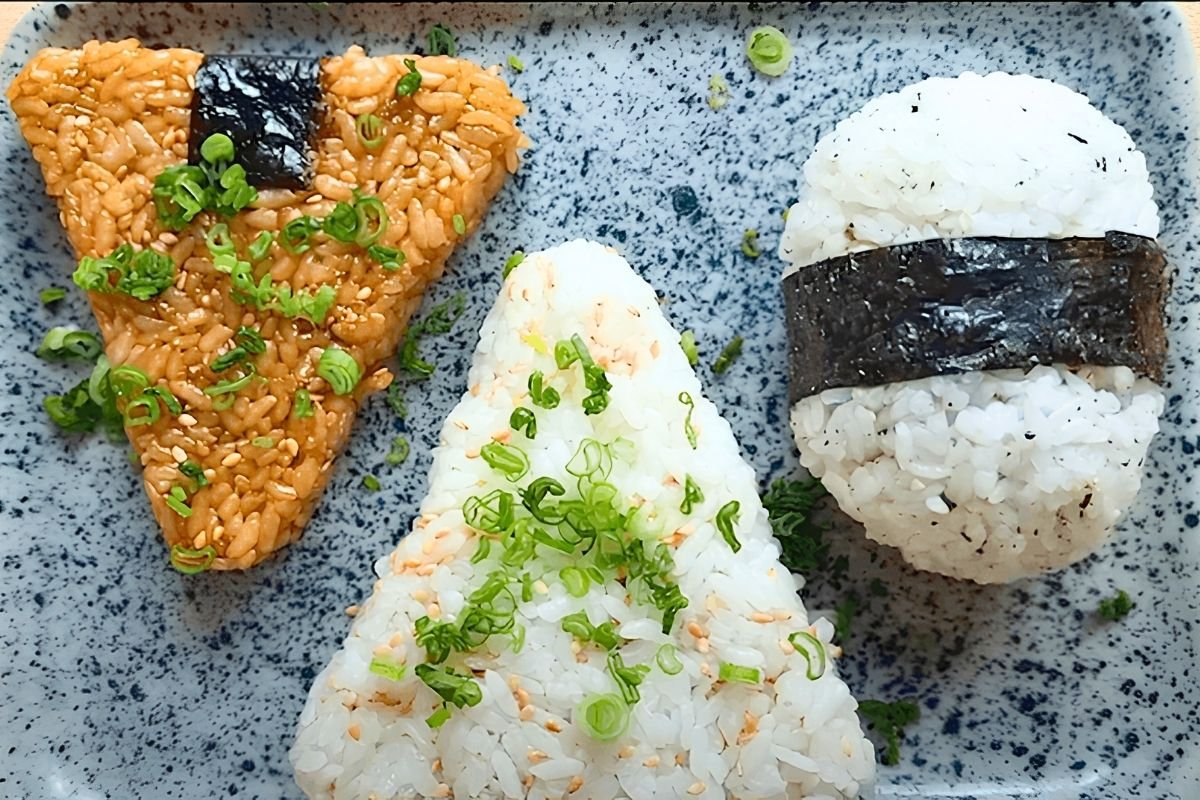
The Soy-Marinated Egg: How to Centre the Yolk
Give a raw egg a gentle shake before it goes into the water. It centres the yolk, so it sits dead in the middle once the egg is cooked and sliced open. Boil for around seven and a half minutes for a semi-soft yolk, then chill it in iced water for ten minutes before peeling. For the marinade, warm tamari soy sauce, mirin, sugar and water in a small pan on a low heat, just long enough to dissolve the sugar. You’re not trying to boil it. Peel the chilled egg, seal it in a Ziploc bag with the marinade, and press out as much air as you can. It’s one of the easiest ways to marinate anything with almost no marinade and no vacuum sealer: leave it in the fridge for at least an hour, or up to two days if you want to get ahead. I use the same bag trick for the marinade in my Lebanese lemon chicken.
How to Make Onigiri Rice So It Doesn’t Turn to Mush
Use Japanese short grain rice, widely sold as sushi rice. Rinse 150 grams (approximately 5.3 ounces) of it in three separate stages: cover it with water, massage it gently for two minutes, pour the water away and repeat. You don’t need gallons of water, it’s the massaging and the time that release the starch. Skip this step, or rush it, and you’ll end up with gummy rice instead of fluffy, separate grains. Choose a saucepan where the rice sits no more than about three grains deep. Once rinsed and drained, add exactly 260 grams (approximately 9.17 ounces) of water and half a teaspoon of salt, then let the rice soak untouched for 30 minutes before turning the heat on at all. By the end of the soak the grains will have gone from slightly translucent to solid white. Bring it to a boil, drop to low for 6 to 10 minutes, then leave it covered off the heat to steam for a further 15 minutes: resist lifting the lid, that trapped steam is what actually finishes cooking the rice. The same resting step is the key to my fluffy turmeric yellow rice.
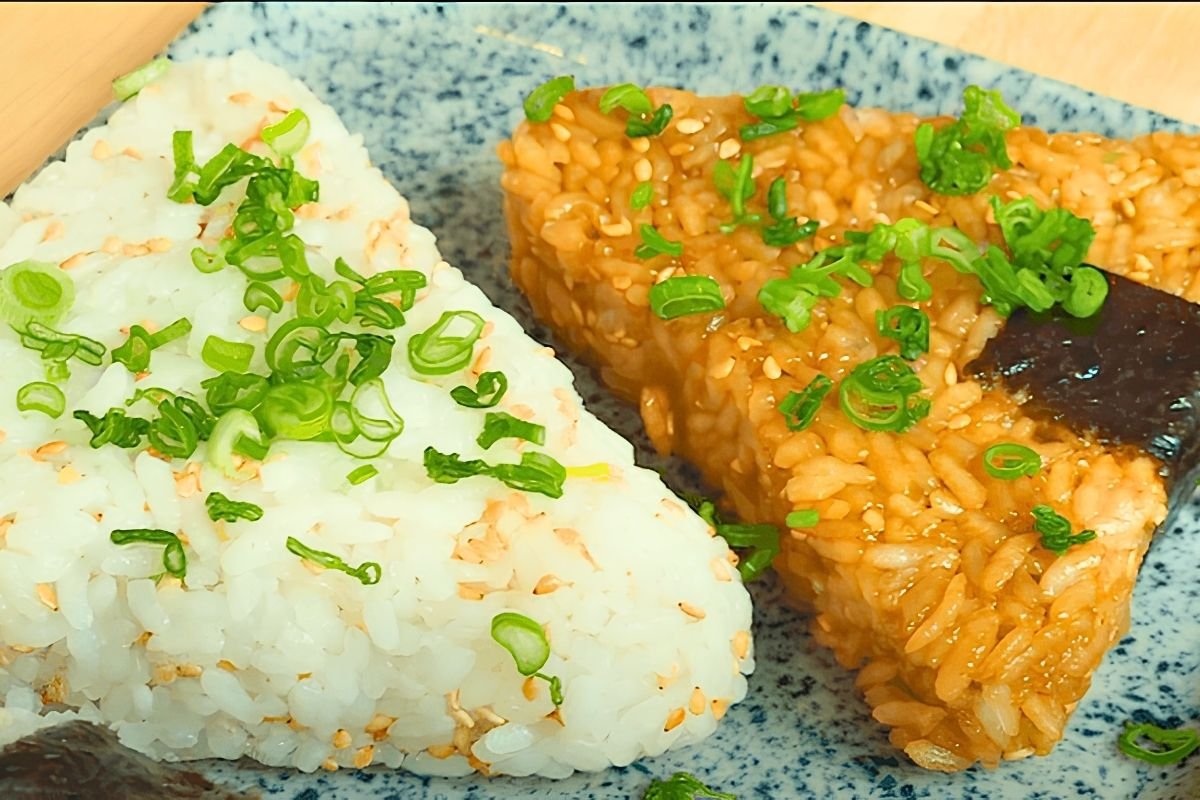
Onigiri Fillings: Soy Egg, Tuna Mayo and Wasabi Soy
Scoop the rice onto a tray and spread it out so it cools, being gentle so you break as few grains as possible. While it cools, get the fillings ready. For the tuna mayo, mix well-drained tuna (about 90 grams once drained) with 30 grams of Japanese mayonnaise such as Kewpie (any good shop-bought mayonnaise works too), a touch of wasabi and a few drops of lemon juice. You want it coated, not wet. The rice for this one gets toasted sesame seeds, a light pinch of salt and a dash of sesame oil mixed through, and the avocado goes on top of the tuna mayo as a few large dice. For the wasabi soy version there’s no filling at all: mix wasabi, soy sauce and sesame oil together, then stir in the rice and toasted sesame seeds, so the flavour runs through every single bite instead of hiding in the centre.
How to Shape Onigiri by Hand
Keep a small bowl of water nearby and wet your fingers before handling the rice. It stops the sticky grains clinging to your hands instead of to each other. You don’t need a mould: I shape these by hand on a piece of cling film. Weigh the cooked rice first, I had 340 grams, so 110 to 120 grams per onigiri. For the soy egg version, mix a good pinch of nori seasoning (equal parts finely chopped nori, sesame seeds and salt) through a third of the rice, pat it into a circle on the cling film, set the egg on top and pull the sides up to cover it completely. It’s the same idea as wrapping a scotch egg. Cup it in your hands and press just firm enough to hold together without breaking the yolk, then wrap two strips of nori around the middle like a belt. Shape the tuna mayo and wasabi soy versions into triangles, folding each corner up into the centre to keep sharp, defined edges, then finish the wasabi soy onigiri with a strip of nori wrapped around the base: partly decoration, partly somewhere to hold it while you eat. Nori’s savoury flavour is also the secret in my vegan prawn crackers.
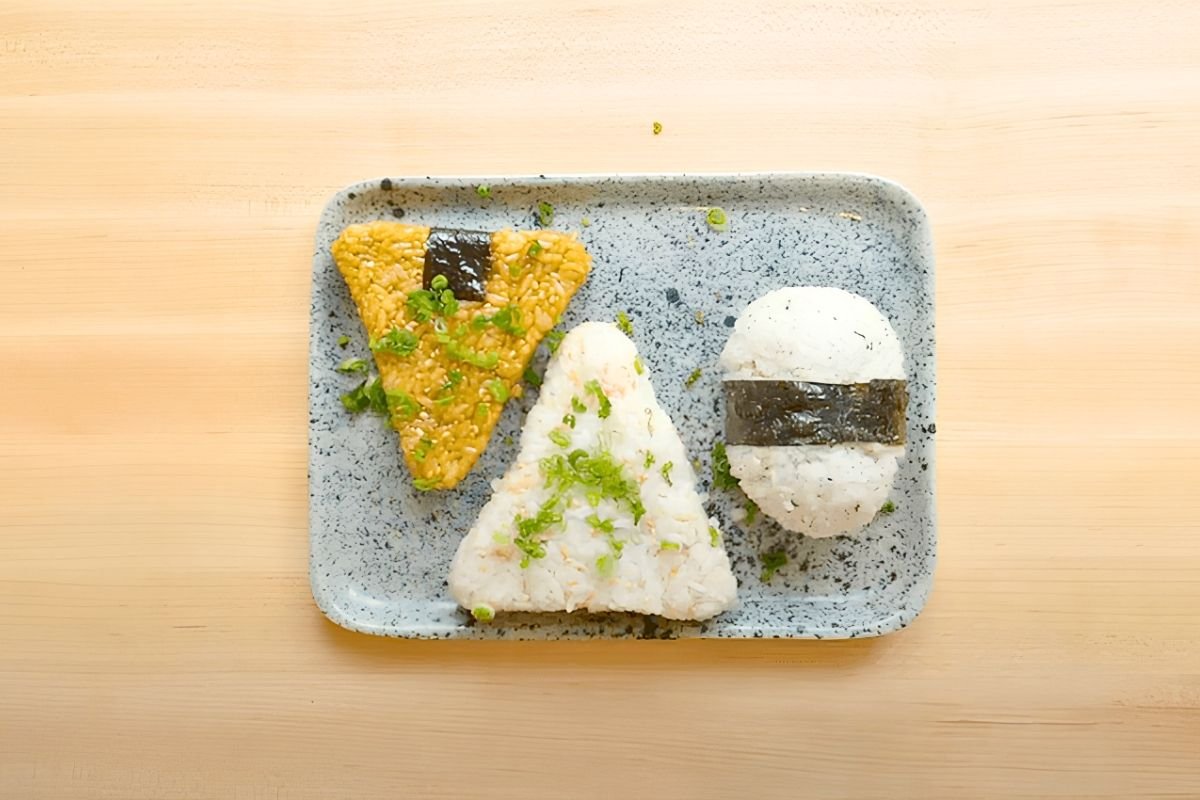
Three onigiri from one batch of rice, and none of it complicated once the technique clicks: rinse the rice properly, keep your fingers wet, and shape with gentle pressure. The soy egg gives you that reveal-the-yolk moment when you slice in, the tuna mayo is the everyday favourite for good reason, and the wasabi soy proves you don’t need a filling at all to make something worth eating. Once the shaping feels natural, swap in whatever filling you like: the rice and the technique are the real recipe here. Like my make-ahead chicken meal prep, they’re ideal for packed lunches.
Frequently Asked Questions
How do I stop the rice from sticking to my hands?
Use wet fingers when handling the sticky rice. It stops the rice sticking to your hands while you shape the onigiri.
How long should I marinate the soy egg?
Marinate the peeled, chilled egg in the fridge for at least an hour and up to two days, sealed in a bag with the air squeezed out so the marinade coats it evenly.
Can I make onigiri with fillings other than these three?
Yes. The technique of wrapping seasoned rice around a filling and shaping it by hand works with countless fillings. Soy egg, tuna mayo, and wasabi soy are just a starting point.
Why do I need to rinse the rice before cooking?
Rinsing the rice in three stages removes excess surface starch, which helps you get fluffy, properly textured rice rather than a gummy result.
What’s the difference in shape between the three onigiri?
The soy-marinated egg version is shaped into an egg-like form around the filling, while the tuna mayo and wasabi soy versions are both shaped into the classic triangle, with the wasabi soy variety wrapped in a strip of nori at the base.
How do I make onigiri without a mould?
You don’t need one. Wet your fingers, put the seasoned rice on a piece of cling film and shape it by hand, folding the corners into the centre for a triangle or pulling the sides up around a filling. Press with gentle pressure until it holds together.
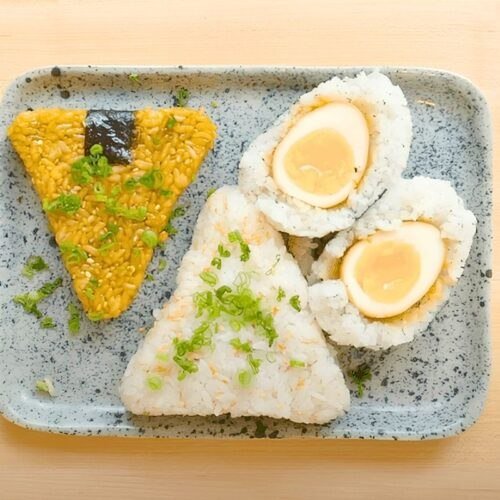
Onigiri Recipe: 3 Ways With Soy Egg, Tuna Mayo and Wasabi
Equipment
- Mixing bowl / Bowl
- Strainer / Sieve
- Chef’s knife
- Digital scales
- Measuring spoons
- Timer
- Saucepan
- Plate / Tray
- Spoon (table, dessert, tea)
Ingredients
- INGREDIENTS – Makes 3 large onigiris
- 150 g Japanese short grain rice sushi rice
- 260 g water
- 1/2 teaspoon salt
- FILLINGS
- 1 egg
- 1 tablespoon / 10g soy sauce tamari or light soy
- 1 teaspoon / 5g mirin
- 1 teaspoon / 5g sugar
- Tuna
- Avocado
- 30 g or a heaped tablespoon of mayonnaise Kewpie or regular
- Wasabi
- Toasted sesame
- Sesame oil
- Tamari soy sauce
Instructions
- Boil an egg for 7 and a half minutes, then place it in a container of ice water for 10 minutes to cool.
- Make a marinade by mixing 1 tablespoon of tamari soy sauce, 1 teaspoon of mirin, 1 teaspoon of sugar and 1 tablespoon of water in a small saucepan. Heat the mixture until the sugar dissolves.
- Peel the cooled egg and place it in a Ziploc bag with the marinade. Seal up the Ziploc bag, removing as much excess air as possible, and place in the fridge for at least 1 hour or up to 2 days.
- Rinse 150 grams of sushi rice in a medium-sized saucepan in three stages: cover with water, massage gently for 2 minutes, then pour the water away and repeat. Drain the rice through a strainer after the third rinse to remove the starch.
- Add 260 grams of water and half a teaspoon of salt to the saucepan with the rinsed rice. Cover and let it soak for 30 minutes.
- Turn the heat to high and bring the pan of rice to a boil, then turn down the heat to low and cook for 6-10 minutes without opening the lid.
- Take the pan off the heat and leave it covered to steam for 15 minutes. Gently scoop the rice onto a tray and spread it out to cool before shaping it into onigiri rice balls.
- Optional: fill the rice balls with a surprise filling of your choice.
Video
Nutrition
Nutrition Facts
| Total Fat | 13.6g |
| Saturated Fat | 2.4g |
| Cholesterol | 77mg |
| Sodium | 1221.5mg |
| Total Carbohydrate | 44.5g |
| Dietary Fiber | 1.1g |
| Sugars | 2.7g |
| Protein | 12.5g |
| Potassium | 219.3mg |