
Crispy Skin Roast Chicken: Tricks No One Thinks About
Last updated on October 14th, 2026
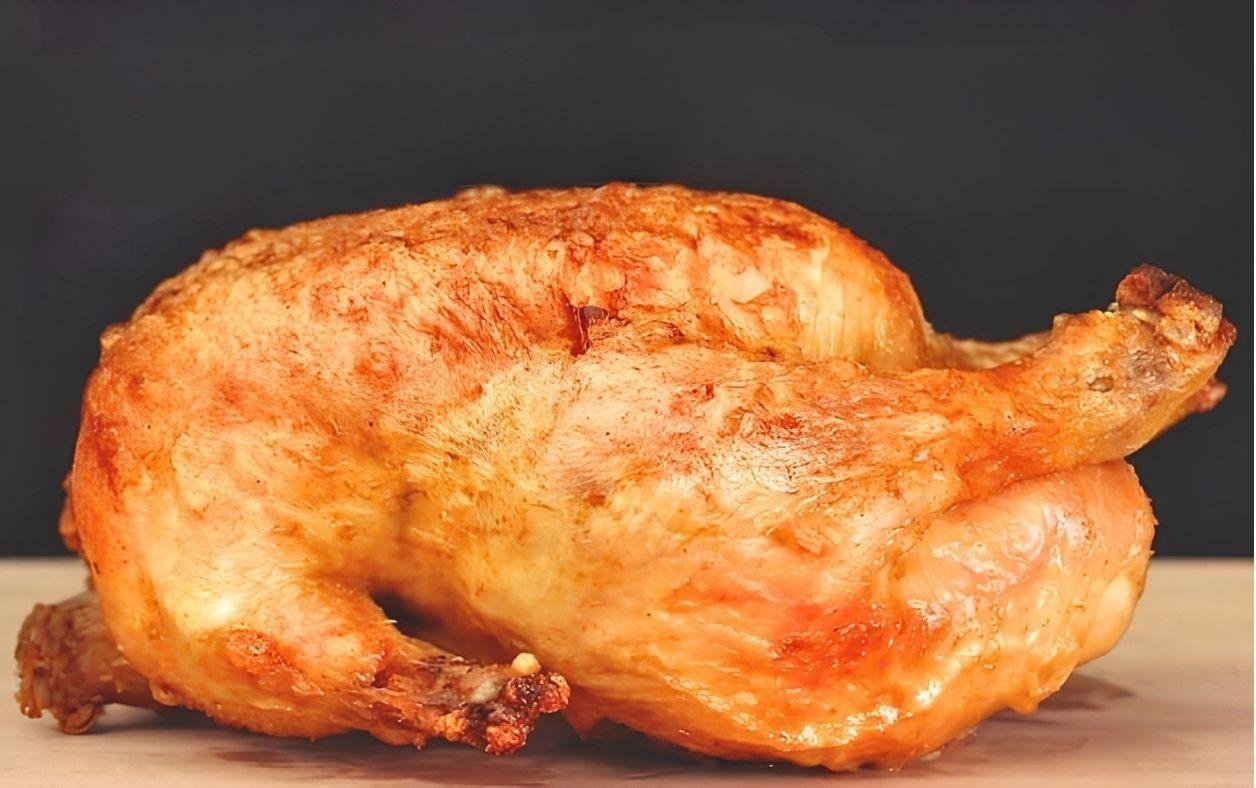
This crispy skin roast chicken recipe isn’t a normal one. But it is a great one.
Once I perfected this recipe, there was no turning back, it uses simple techniques to achieve tender juicy meat and crisp golden skin. It only uses 4 ingredients for a un-adulterated pure chicken flavour. Serve it with my irresistible charred Brussels sprouts for a proper Sunday lunch.
It’s the closest I can get to a rotisserie style chicken at home just using a regular oven and as an added bonus, you get a byproduct of home-made chicken stock from this recipe.
Prepping the Bird: Wishbone, Wings and Seasoning Under the Skin
Most of the work that makes this chicken different from a normal roast happens before it ever sees heat. Start by slicing the skin at the wing’s elbow, bending the wing back until the joint dislocates, then slicing through the gap to free it, keep these for roasting alongside the bird. If you’re new to jointing, my chicken butchery guide covers this in detail. Slice off the parson’s nose, the fatty tip of the tail, to avoid any bitterness.
Removing the wishbone is optional but worth doing: trim a little excess neck skin, feel for the two wishbone bones, pierce behind them with your knife and slice down through both sides, then wiggle it free. It makes carving smooth, clean slices from the breast far easier later on. Next, gently work your fingers between the skin and the breast meat to break the membrane, working from the neck down over the legs and repeating down the spine on the other side. Open the skin from the neck end and massage salt directly into the meat on both sides, then let the chicken rest for at least 30 minutes, or up to 12 hours for deeper flavour. Dry brining works the same way as it does on my dry-brined chuck steak.
Poaching Before Roasting for Guaranteed Juicy Meat
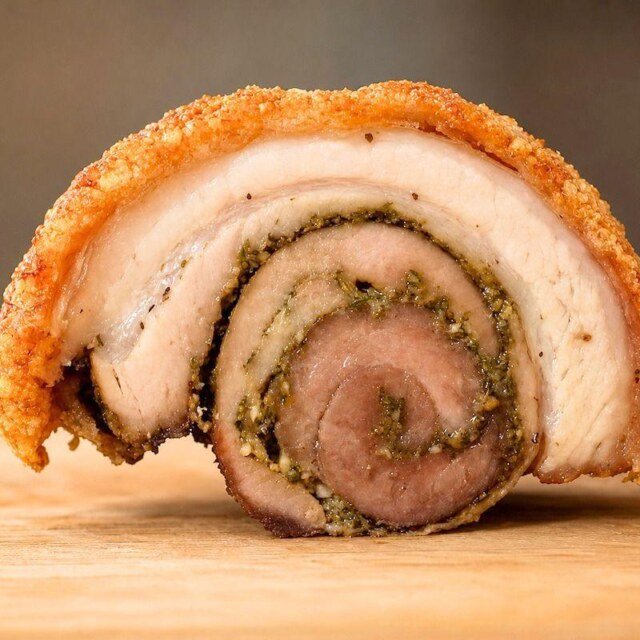
This is the step that gets this recipe closest to a rotisserie-style bird without any specialist equipment. It’s the same poach-first principle behind my porchetta with crispy crackling. Bring 1.5 to 2 litres of chicken stock (homemade or a good bouillon) to a gentle simmer, then carefully lower the whole chicken in and poach for 15 minutes, keeping the liquid at a simmer rather than a boil. Lift it out with silicone-tipped tongs so you don’t tear the skin, set it on a rack over a roasting tray, and let it sit uncovered for 20 minutes to dry and tighten the skin. While that happens, bring the poaching stock back to a simmer for 10 minutes to kill off any bacteria, then keep it, you’ll need it again at the end.
How to Make Roast Chicken Skin Crispy: Roasting and Basting
This is the stage that turns dried, tightened skin into deep golden crackle. Once the skin feels properly dry, preheat the oven to 220C (428F), brush the chicken with olive oil or reserved chicken fat and season both sides, starting spine-side up. Roast in 15-minute intervals, flipping and basting with the fat that collects in the tray each time, for a total of around 1 hour 10 minutes. Pull it out once the deepest part of the breast reads 75-80C (167-176F), it’s fine to take it out as low as 70C since the temperature will keep climbing during resting. Rest for at least 30 minutes before carving, this is non-negotiable for juicy meat. Use the resting time to finish a tray of crisp, golden roast potatoes.
How Long to Roast a Chicken
A chicken just under 1.5 kg takes 1 hour 10 minutes in a 220C oven, turned every 15 minutes, once it has been brined, poached and dried. I pulled mine when the deepest part of the breast read 80C, then rested it for around half an hour.
Allow time either side of the oven: 15 minutes poaching, 20 minutes drying on the rack, and a rest of at least half the cooking time, so 30 to 45 minutes. A lot of people skip the rest because they worry the chicken will go cold, or that the skin will lose its crispness. It won’t go cold, and the skin does soften a little, but I’ll sacrifice some crispness for tender, juicy meat.
With an ordinary roast chicken I generally wouldn’t go above 180C, because the top of the breast and the top of the leg get hit with the most heat and dry out. Turning the bird every 15 minutes gives those parts a break whenever it’s upside down, which is what lets the oven go up to 220C for golden skin. I filmed this in an Airbnb with an oven that wasn’t what I was expecting, and it still worked, so you don’t need anything special. Turning food regularly is also how I keep roasted carrots juicy rather than wrinkled, and they make a great side for this chicken.
Turn the Carcass into Stock
The bonus step most roast chicken recipes skip: once you’ve carved, throw the carcass, wings and any trimmings into that reserved stock and simmer for a few hours. Strain it and portion it up, and you’ve got a genuinely rich, homemade stock as a byproduct of dinner, ready for the next soup, risotto or pan sauce. That stock is exactly what I use for my roasted chicken noodle soup.
Crispy Skin Roast Chicken: Tricks No One Thinks About
Equipment
- Baking / Roasting tray
- Wire / Cooling rack
- Strainer / Sieve
- Chef’s knife
- Chopping board
- Measuring jug
- Thermometer / Probe
- Saucepan
- Pastry brush
- Tongs
Ingredients
- 1 x chicken
- Chicken stock homemade or bouillon to get started – see video
- 2 litres water
- Oil
- Salt and pepper
Instructions
- Slice the skin where the elbow of the wing is, then bend the wing back until the elbow joint dislocates. Slice through the gap between the bones to free the wing. Save these for roasting later!
- This is the fatty tip of the tail. Simply slice it off to avoid bitterness.
- Trim some excess neck skin but leave enough to shrink during roasting. Feel for the two bones of the wishbone, pierce your knife behind them and slice down, crunching through. Repeat on the other side, then wiggle the bone free.
- Gently push your fingers between the skin and breast meat to break the membrane. Work from the neck end down across the meat and over the tops of the legs, then flip the chicken over and repeat down the spine and leg area.
- Lift the chicken up, open the skin from the neck end, and sprinkle in some salt. Massage the salt into the meat as thoroughly as possible, then flip the chicken over and repeat on the other side.
- Let the chicken rest for at least 30 minutes, or up to 12 hours for deeper flavour.
- Heat 1.5 to 2 litres of chicken stock (or bouillon-based stock) to a simmer.
- Carefully place the chicken into the simmering stock for 15 minutes, keeping the liquid at a gentle simmer rather than a boil.
- Use silicone-tipped tongs to avoid tearing the skin, then place the chicken on a rack set over a roasting tray.
- Let the chicken sit for 20 minutes to dry and tighten the skin. Meanwhile, bring your stock back to a simmer for 10 minutes to kill any bacteria.
- Set your oven to 220°C (428°F).
- Once the chicken feels dry to the touch, brush it with olive oil (or chicken fat) and sprinkle salt evenly across the skin. Flip and repeat on the other side, then start roasting with the spine facing up.
- Roast for 15 minutes, then flip the chicken. Repeat this flipping and basting every 15 minutes for a total cooking time of 1 hour 10 minutes, using the fat that collects on the tray to baste for extra crispiness.
- Bring the chicken out when the deepest part of the breast reads 75-80°C (167-176°F). You can pull it as low as 70°C, as resting will carry it up to around 75°C.
- Rest the chicken for at least 30 minutes before carving for juicy, tender meat.
- Thanks to the removed wishbone, you can now carve smooth, clean slices from the breast.
- Collect the carcass, wings, and any leftover trimmings, then simmer them in your stock for a few hours to develop a rich, flavourful stock. Strain and store in portions for future use. This method creates a roast chicken with crispy skin, tender meat, and a rich stock that only gets better with each use. Enjoy!
Video
Nutrition
Nutrition Facts
| Total Fat | 22.7g |
| Saturated Fat | 6g |
| Cholesterol | 132mg |
| Sodium | 317mg |
| Total Carbohydrate | 0.1g |
| Dietary Fiber | 0g |
| Sugars | 0g |
| Protein | 41g |
| Potassium | 337mg |

When you dry brine the chicken, do you put it in the fridge or on the counter? Thanks.